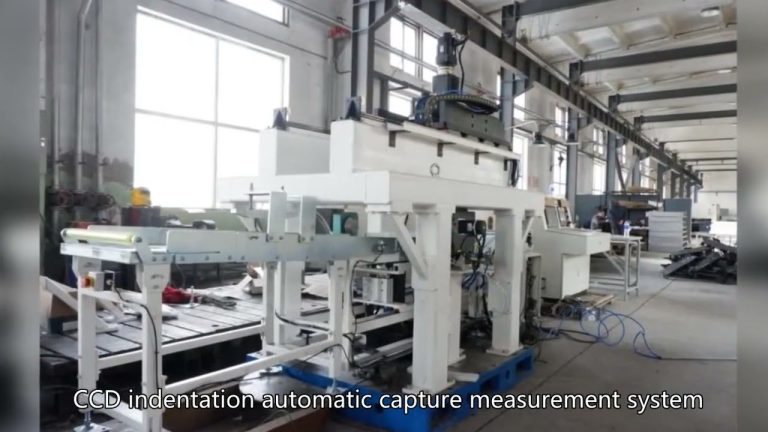
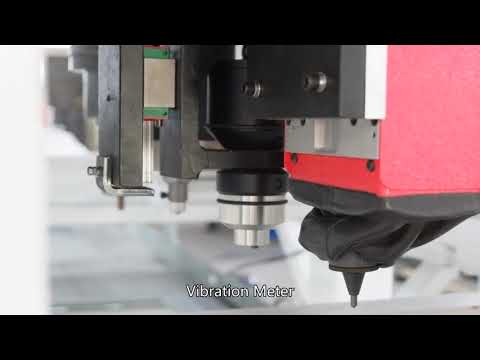
Metallographic analysis is one of the important means of experimental research on metal materials. It uses the principle of quantitative metallography to determine the three-dimensional morphology of the alloy structure by measuring and calculating the metallographic microstructure of the ground surface of the two-dimensional metallographic sample or the film, thereby establishing Quantitative relationship between alloy composition, structure and properties.
Applying the image processing system to metallographic analysis has the advantages of high precision and fast speed, which can greatly improve work efficiency. The report data mainly comes from the National Bureau of Statistics, the State General Administration of Customs, the Development Research Center of the State Council, basic information from relevant domestic and foreign publications and magazines, and metallographic image analyzer scientific research units.
Introduction
Computer quantitative metallographic analysis is gradually becoming a powerful tool for people to analyze and study various materials, establish quantitative relationships between the microstructure of materials and various properties, and study the transformation dynamics of material structures. The computer image analysis system can be used to easily measure the area percentage, average size, average spacing, aspect ratio and other parameters of the feature objects, and then determine the three-dimensional spatial form, quantity, size and distribution of the feature objects based on these parameters. It also establishes an intrinsic connection with the mechanical properties of materials to provide reliable data for more scientific evaluation of materials and rational use of materials.
The metallographic analysis report data mainly comes from the National Bureau of Statistics, the State Administration of Customs, the Development Research Center of the State Council, basic information from relevant domestic and foreign publications and magazines, and metallographic image analyzer research units. The report provides information on the development status and prospects of my country’s metallographic image analyzer industry, the development status and prospects of the international metallographic image analyzer industry, metallographic image analyzer industry data, metallographic image analyzer industry benchmark companies, and metallographic image analyzer industry trends. Conduct in-depth research on downstream, metallographic image analyzer prices and sales channel price management, metallographic image analyzer industry investment strategies, marketing strategies, business management and competitive strategies, and focus on analyzing the prospects and risks of the metallographic image analyzer industry. It reveals the potential demand and potential opportunities of the metallographic image analyzer market, and provides accurate market intelligence information and scientific decision-making basis for strategic investors to choose appropriate investment opportunities and company leaders to make strategic planning. It is also of great significance to bank credit departments. reference value.
Test items
- Welding metallographic inspection;
- Metallographic inspection of cast iron;
- Heat treatment quality inspection;
- Inspection and evaluation of microstructure of various metal products and raw materials;
- Low-magnification defect inspection of cast iron, cast steel, non-ferrous metals, and raw materials;
- Metal hardness (HV, HRC, HB, HL) measurement and grain size rating;
- Determination of non-metallic inclusion content;
- Determination of the depth of decarburized layer/carburized hardened layer, etc.
Body sampling – test block mounting – rough grinding – fine grinding – polishing – corrosion – observation
Step 1: Determine the sample selection part and interception method
When selecting sampling parts and inspection surfaces, the characteristics and processing technology of the sample are comprehensively considered in this process, and the selected parts must be representative.
Step 2: Inlay.
If the size of the specimen is too small or the shape is irregular, it needs to be mounted or clamped.
Step 3: Rough grinding of the sample.
The purpose of rough grinding is to flatten the sample and grind it into a suitable shape. General steel materials are often roughly ground on a grinder, while softer materials can be smoothed with a file.
Step 4: Fine grinding of the sample.
The purpose of fine grinding is to eliminate the deep scratches left during rough grinding and prepare for polishing. General material grinding methods are divided into two types: manual grinding and mechanical grinding.
Step 5: Sample polishing.
The purpose of polishing is to remove the tiny scratches left by polishing and create a bright, traceless mirror surface. Generally divided into three types: mechanical polishing, chemical polishing, and electrolytic polishing, and the most commonly used is mechanical polishing.
Step 6: Sample corrosion.
To observe the structure of polished samples under a microscope, metallographic etching must be performed. There are many methods of corrosion, including chemical corrosion, electrolytic corrosion, and constant potential corrosion. The most commonly used method is chemical corrosion.
Major equipment
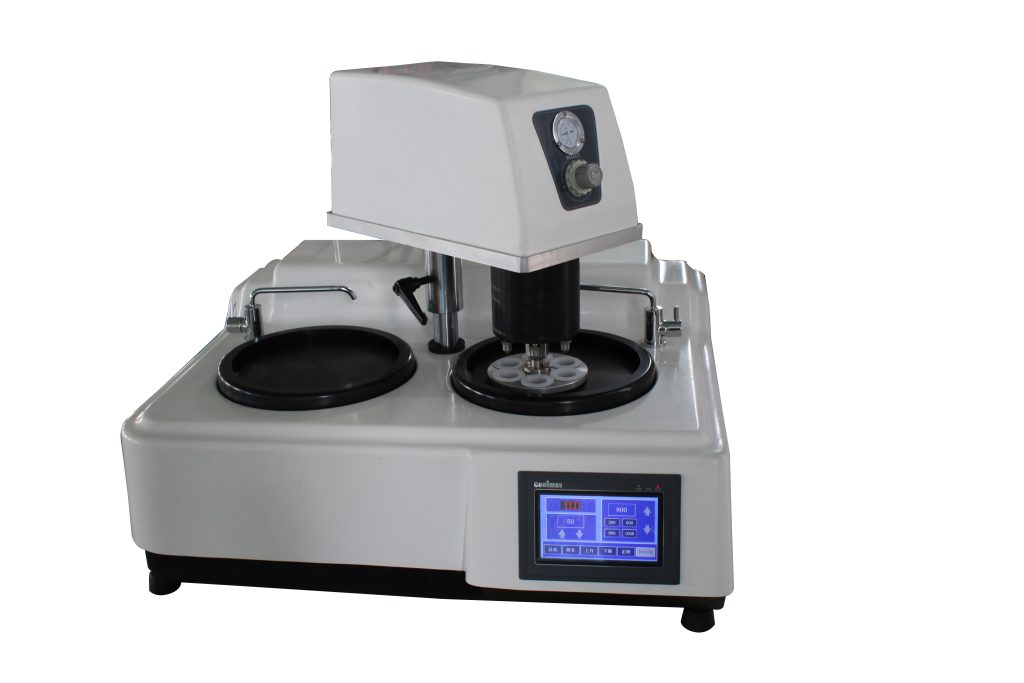
According to the process: cutting machine, grinder, sandpaper, inlay machine, polishing machine, optical microscope, video capture card, metallographic analysis software, etc.

