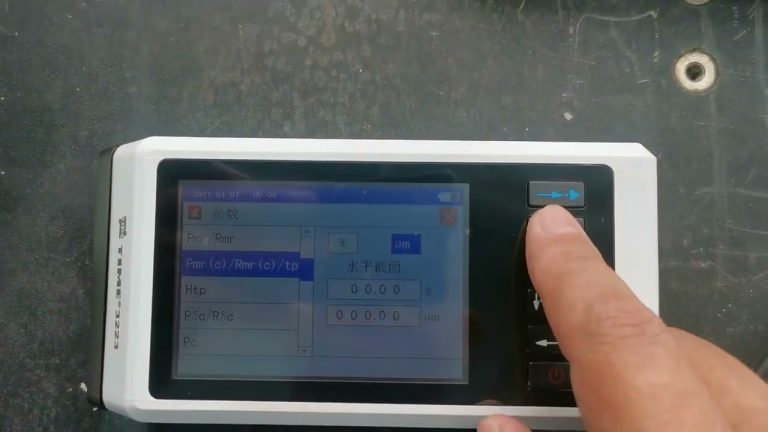
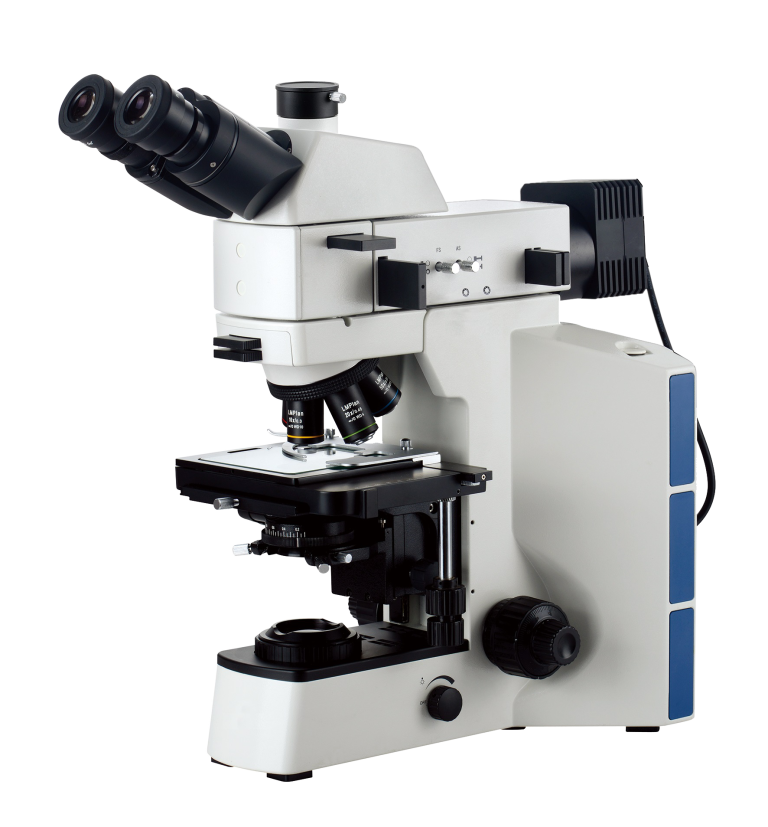
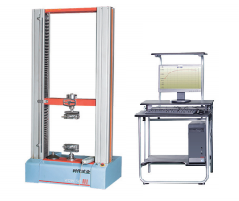
The Brinell hardness tester is composed of a frame, a test force generation and loading and unloading mechanism, a test force conversion mechanism and a sample support mechanism, etc. It is also equipped with an indentation diameter detection device and a steel ball indenter to match it.
There are two main types of Brinell hardness tester racks: portal type and cantilever type. The portal type rack is symmetrical in force and can easily ensure that the test force acts accurately vertically on the sample surface. The reference hardness tester generally adopts a portal structure, while most working hardness testers adopt a cantilever structure.
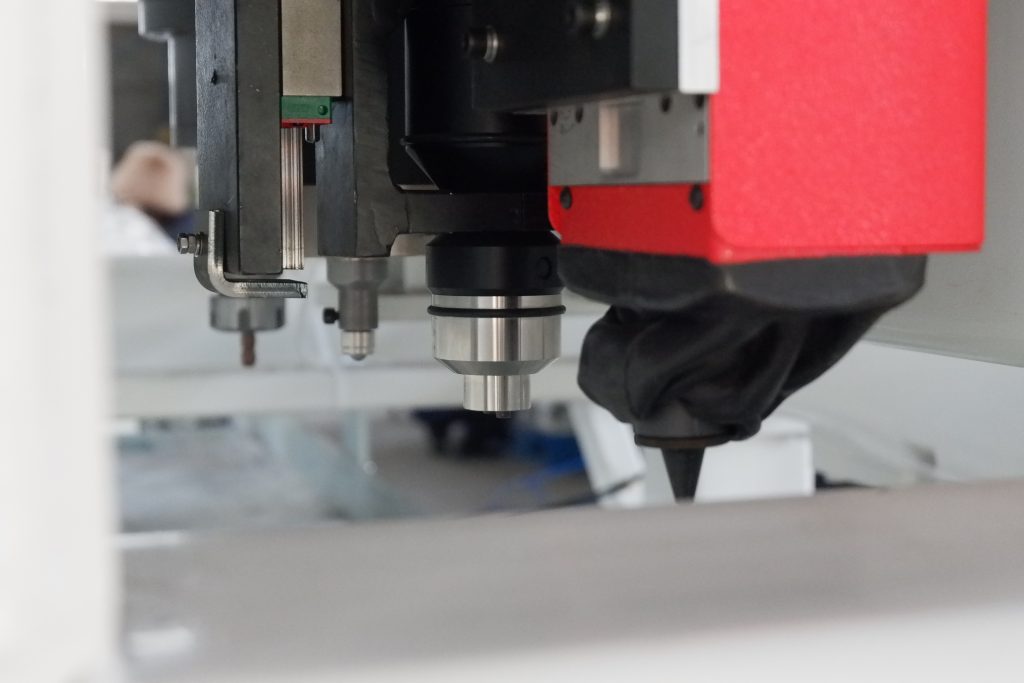
The use of Brinell hardness testers can be roughly divided into the following four categories according to their structural forms:
- Direct afterburner type
The weights, hangings, spindles, indenter, etc. are affected by gravity and directly generate test forces acting on the specimen. If the influence of the friction force of the guide mechanism is ignored, the test force on the specimen is equal to the gravity on the weight, suspension, spindle and pressure head. This gravity can be controlled very accurately by adjusting the mass of the weight. The deviation of the test force from the standard value is mainly caused by friction. This structure generally adopts ball bearing guidance, and the friction force can be controlled relatively small, so the deviation of the test force is small. Usually, benchmarks, standards and not hardness testers all use this structure. However, this form of hardness tester is large, heavy, and expensive. - Lever type
Leverage test force is generated by weights and suspensions acting under the influence of gravity and amplified by levers. The test force deviation depends largely on the lever ratio and the friction of the moving parts. The test force deviation of this structure is larger than that of the direct force type, but its structure is compact. The price is moderate, and the test force accuracy can meet the requirements of hardness testing, which is generally not the case. Therefore, most working hardness testers used in product quality inspection adopt this structure. - Hydraulic amplification type
This test force is generated by weights, etc., under the action of gravity and hydraulic amplification. The test force deviation mainly depends on the area ratio of the large and small piston and the friction of the moving part. In order to prevent oil leakage, the hardness tester with this structure requires the hydraulic part to have good sealing properties and requires high machining accuracy of the hydraulic part. Other advantages and disadvantages are basically the same as the lever-energized type. The HB-3000 Brinell hardness tester produced in my country and the Swedish Alfa hardness tester adopt this form of force-adding mechanism. - Spring lever booster type
The principle test force of this structure is generated by the pressure F passing through the spring lever. The size of the test force is controlled by a dial indicator. The dial indicator reading reflects the deformation of the spring lever and therefore the test force.
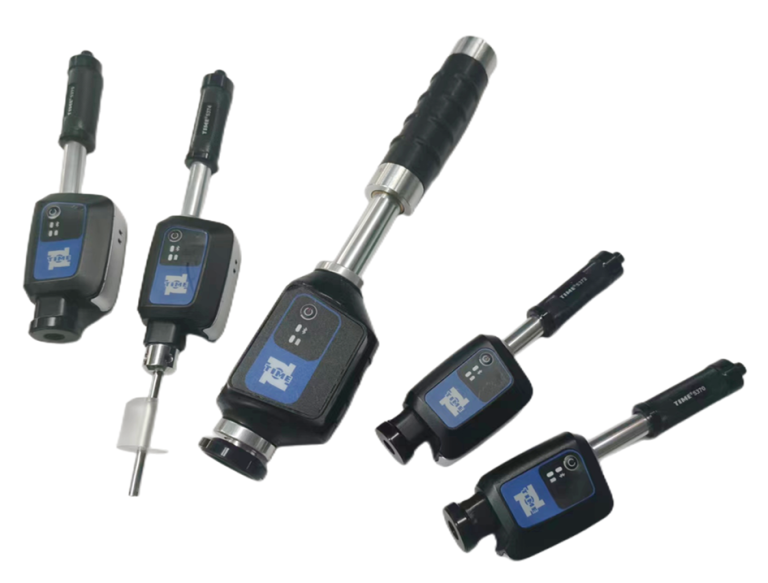
The hardness tester with this structure can only produce a small test force, and the test force accuracy is relatively low. Some portable hardness testers, such as the HD5-150 portable cloth and Luo dual-use hardness tester, adopt this structure.
In addition to the above categories, there are also pneumatic and gear-driven screw types.

