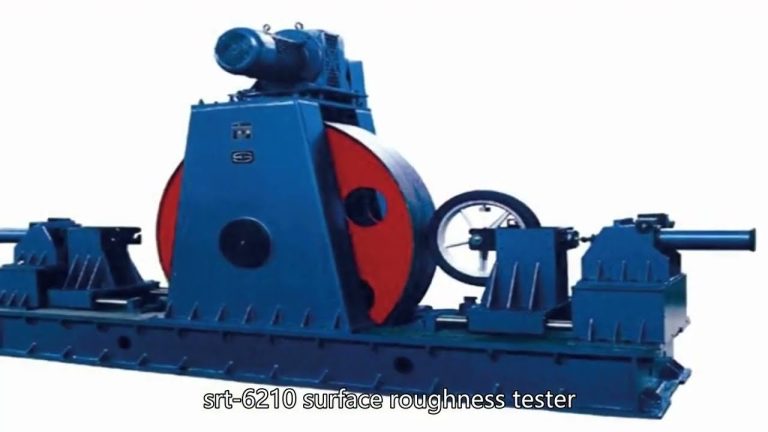
Hardness test is a simple and easy test method in mechanical property testing. In order to use hardness testing to replace certain mechanical property tests, production requires a more accurate conversion relationship between hardness and strength.
Therefore, the hardness testers we now use in major factories can be divided into: Leeb hardness tester, Rockwell hardness tester. Hardness tester, Brinell hardness tester, Shore hardness tester, Shore hardness tester, Barcol hardness tester, micro hardness tester, Mohs hardness tester, Vickers hardness tester, etc.
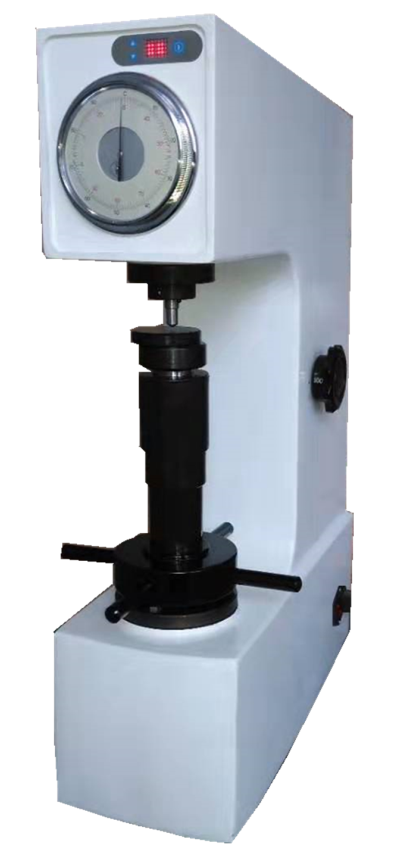
There are many types of hardness testers. Rockwell, Brinell and Vickers hardness testers are commonly used in industrial and mining enterprises and scientific research institutions. Among them, Rockwell and Brinell hardness testers have simpler structures than Vickers hardness testers. Troubleshooting common faults is not very difficult.
Today I will explain to you some of the more common faults that occur after calibration of Rockwell hardness testers. How to repair these faults? Will these problems continue to occur in subsequent uses after repairs? So today Jiexing will come to talk about it. A detailed explanation of the use and maintenance of Rockwell hardness tester.
- Calibration and repair of Rockwell hardness tester. According to the working practice of our engineers for many years, there are still some methods for calibration and repair. Before starting the work of Rockwell hardness tester, you should start by adjusting the level of the workbench. Observe whether the spindle, lever, lifting screw, buffer mechanism and measuring device are normal and flexible. Ensure a basic understanding of equipment performance. Then solve the problems one by one as they arise.
1) If the loading indicator light and measuring microscope light do not light up, first check whether the power supply is connected properly, and then check the switch, light bulb, etc. If it still doesn’t light up after eliminating these factors, check whether the load is fully applied or whether the reed switch is normal. If the problem is still abnormal after troubleshooting, you must start with the circuit and conduct a step-by-step investigation.
2) If there is turbidity in the measurement microscope and the indentation cannot be seen or cannot be seen clearly, you should start by adjusting the focus and light of the microscope. If it is still unclear after adjustment, you should turn the objective and eyepiece respectively, and move the dotted and solid lines in the mirror respectively. , three flat mirrors with engraved lines, carefully observe which mirror surface the problem is, then remove it, wipe it clean with long-fiber absorbent cotton dipped in anhydrous alcohol, install it in the reverse order and observe it, if it is still not solved, send it for repair Or replace the micrometer microscope.
3) The indentation is not within the field of view or the worktable is slightly rotated, and the indentation position changes greatly. The reason for this situation is due to the different axes of the indenter, measuring microscope and worktable. Since the pressure head is fixed at the bottom of the working shaft, adjust it separately in the following order.
①Adjust the movable clearance at the lower end of the spindle so that the lower end surface of the guide seat does not directly contact the tapered surface of the spindle;
②Adjust the screws on the side of the rotating shaft so that the working axis and the spindle are coaxial. After adjustment, make an indentation on the test block, observe its position in the microscope, and record it;
③ Turn the workbench gently to ensure that the test block does not move on the workbench. Find a point on the test block that does not rotate under the microscope. This point is the axis of the workbench;
④ Slightly loosen the screws and bottom screws on the lifting screw pressure plate, move the entire lifting screw slightly, so that the axis of the workbench coincides with the position where the indentation is recorded on the measuring microscope, then tighten the pressure plate screws and adjustment screws, and press out An indentation is compared with each other. Repeat the above steps until they are completely combined.
4) Reasons and solutions for out-of-tolerance indication values during calibration
①The measuring microscope ruler is inaccurate. Check with a standard micrometer. If not, please send it for repair or replacement.
②The diamond indenter is defective. Observe with an 80x stereomicroscope to see if it complies with the diamond indenter verification regulations. Replace the indenter if damaged.
③ If the load exceeds the regulatory requirements or the load is unstable, use a third-class small load standard dynamometer to check. If the load exceeds the requirement by ±1.0% but in the same direction, the lever ratio has changed. Loosen the spindle protective cap, turn the power point contact, adjust the load lever ratio, and tighten it after adjustment. If the load is unstable, it may be caused by the bluntness of the force point blade, the wear of the fulcrum steel ball, the non-concentricity of the working shaft and the main shaft, or the large friction in the working shaft. At this time, check the blade and steel ball. If they are blunt or worn, they should be repaired or replaced. Check and clean the working shaft. Be sure to match the steel balls around the shaft.
5). There is impact phenomenon during loading. This situation is related to the fact that the buffer oil is too little or the oil is too dirty. This can usually be solved by filling up the oil or cleaning the buffer.
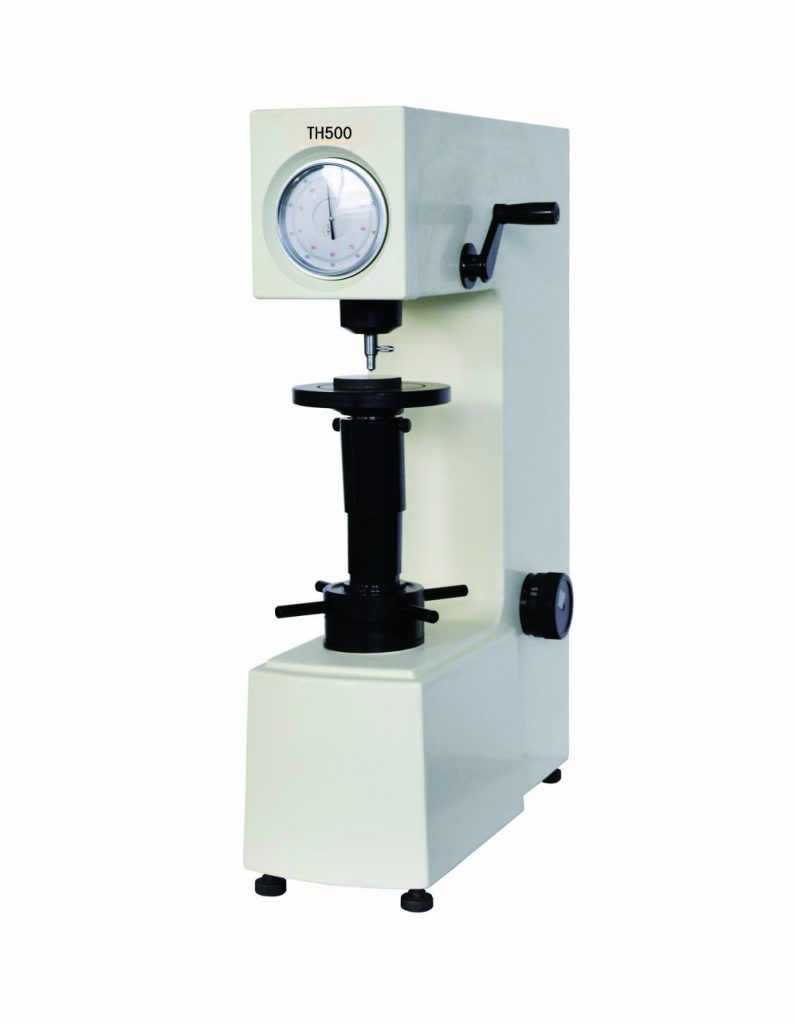
- Rockwell hardness tester maintenance and precautions
(1) When transporting the hardness tester, the weight and indenter must be removed, and a shock-proof rubber pad must be sandwiched between the indenter holder and the sample stage; the original packaging should be restored for long-distance transportation.
(2) During any debugging and inspection, such as loading and unloading weights, removing the upper cover, unplugging and plugging cables, and opening the side door for inspection, the power supply should be cut off.
(3) It is prohibited to switch the test force while the indenter is in contact with the sample being tested.
(4) The pressure head should be loaded and unloaded carefully to ensure no damage or pollution, and the installation surface is clean and free of foreign matter. If not used for a long time, it should be removed and stored properly, and attention should be paid to preventing rust.
(5) The surface of the sample stage and standard hardness block should be clean and free of pollution, scratches, abrasions, and bruises.
(6) During the test, the sample to be tested must be placed stably and supported reliably to ensure that there is no displacement or deformation during the test.
(7) In the daily working environment and after shutdown, attention should be paid to preventing dust and corrosive media.
(8) The lifting screw of the sample stage should be lubricated regularly. The specific method is: remove the sample stage and protective ring, loosen the screw sheath, inject a few drops of light lubricating oil into the screw, then turn the handwheel and repeatedly raise and lower the screw to make the lubricating oil evenly distributed. Reinstall sheaths and other items. Be careful not to inject too much lubricating oil.
(9) The periodic verification and calibration of the hardness tester should be carried out in accordance with relevant national standards.
(10) When abnormal phenomena occur in the hardness tester, do not disassemble or adjust any fixedly assembled parts by yourself, please contact the supplier.

