Fatigue bending testing machine is a crucial tool used in the field of material testing to evaluate the fatigue strength and endurance of materials under repeated bending loads. In this article, we will discuss the step-by-step process of how to effectively use a fatigue bending testing machine.
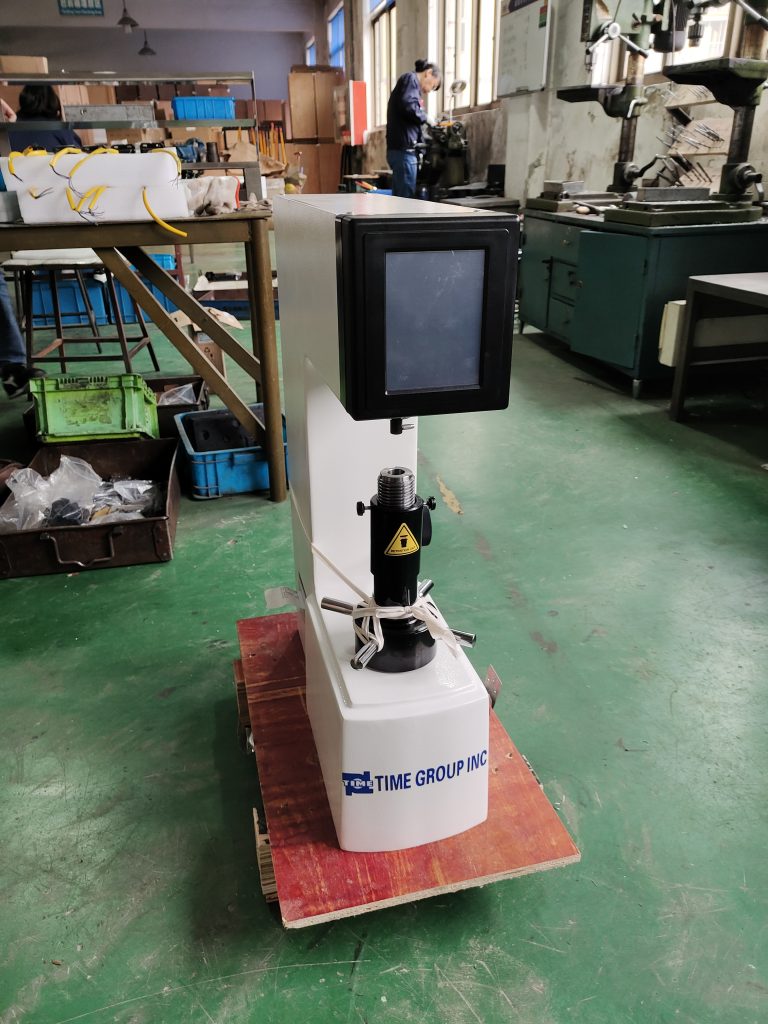
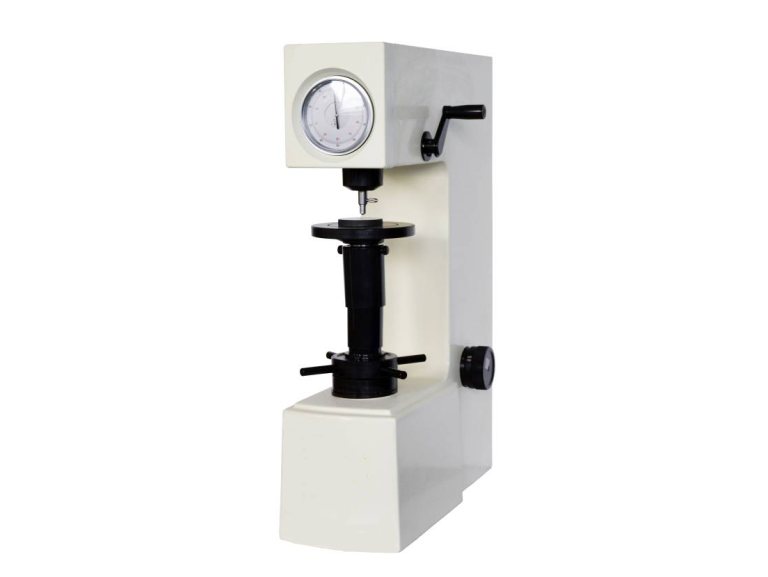
1. Set up the machine: Before starting the test, ensure that the fatigue bending testing machine is properly set up and calibrated according to the manufacturer’s instructions. This includes adjusting the load cell, setting the test parameters, and securing the specimen in place.
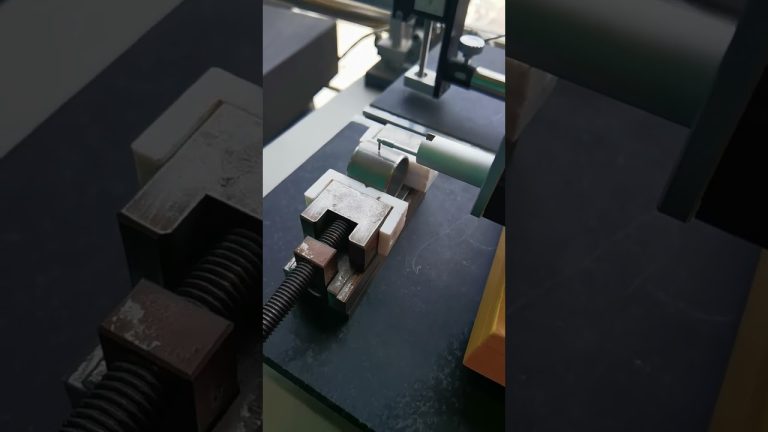
2. Prepare the specimen: Cut the material specimen to the required dimensions and ensure that it is free from any defects or imperfections that could affect the test results. Attach the specimen securely to the grips of the machine using clamps or fixtures.
3. Define the testing parameters: Input the desired testing parameters such as the number of cycles, load levels, frequency, and any other relevant settings into the machine’s control panel. Make sure to follow the testing standards and guidelines applicable to your specific material and application.
4. Start the test: Once everything is set up and ready to go, start the test by activating the machine. Monitor the test progress continuously to ensure that the specimen is experiencing the desired bending loads and that the machine is functioning correctly.
5. Analyze the results: After the test is completed, carefully analyze the data collected by the machine to determine the fatigue strength and endurance of the material. Compare the results with the expected performance of the material and draw conclusions about its suitability for the intended application.
Using a fatigue bending testing machine requires careful preparation, attention to detail, and adherence to testing standards. By following the steps outlined in this article, you can effectively evaluate the fatigue properties of materials and make informed decisions about their performance in real-world applications.