油圧万能試験機試験の9つのステップ:


  1. 電源コードを接続し、「電源」ボタンを押します。表示灯が点灯します。
  2. サンプルの仕様に合わせて測定レンジを選択してください。
  3. オイルポンプを始動し、送油バルブを緩めてテーブルを約10mm上昇させ、送油バルブを閉じます。プラットフォームがすでに上昇位置にある場合は、最初にオイルを供給するためにオイルバルブを開いてオイルを供給する必要はなく、オイル供給バルブを閉じるだけです。
  4. 電動リフトを始動して試験スペースを調整し、サンプルを垂直にクランプします。油圧チャック搭載モデルの場合、コントロールボックスの締め付けボタンを押してテストを垂直にクランプします。
  5. テストに必要な加速速度に応じて、オイルデリバリバルブをゆっくりと緩めて力を加えます。テストが終了したら、オイル供給バルブを閉じます。次のグループ間の間隔が比較的長い場合は、オイルポンプも停止する必要があります。
  6. テスト終了後は電源コードを抜いてください。
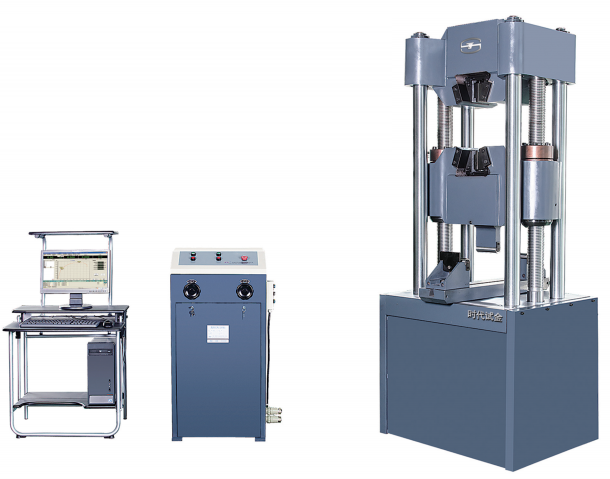
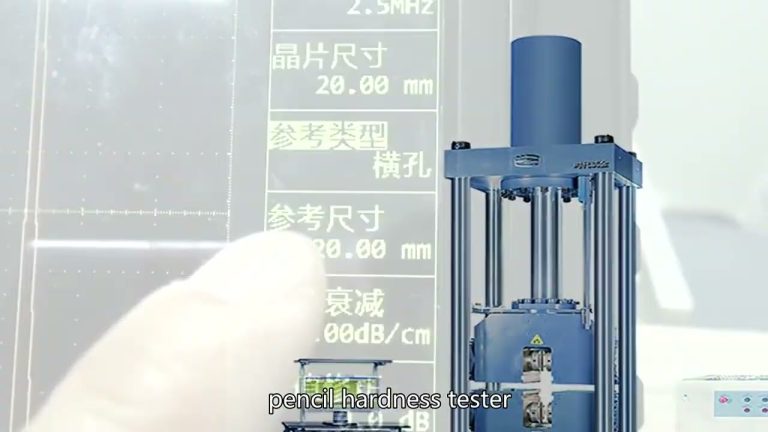
  7. According to the acceleration speed required by the test, slowly unscrew the oil delivery valve to apply force. After the test breaks, close the oil delivery valve. If the interval between the next group is relatively long, the oil pump should also be stopped.
  8. Remove the test tube. For models equipped with hydraulic chucks, first press the “up” button to loosen the upper jaw, then press the “down” button to loosen the lower jaw, and remove the test pieces respectively.
  9. After the test, disconnect the power cord.

Similar Posts