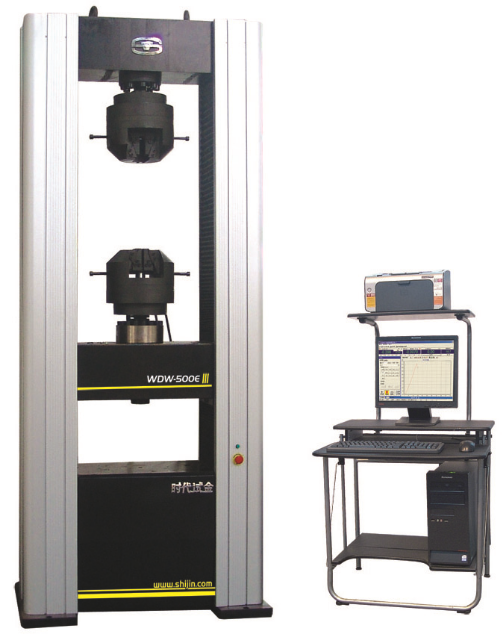
Nine steps for hydraulic universal testing machine testing:
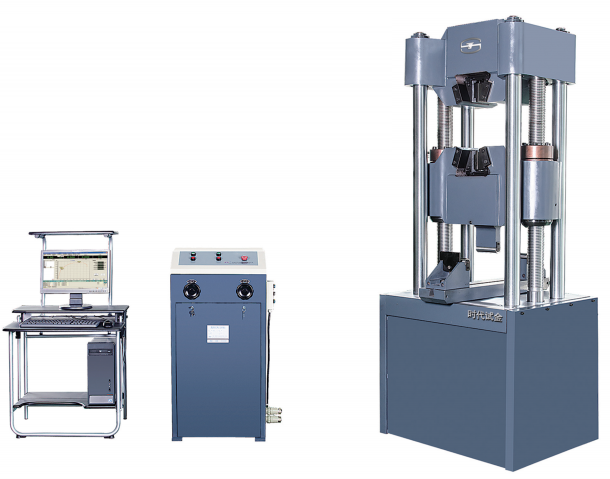
- Connect the power cord and press the “Power” button. The indicator light will turn on.
- Select the measuring range according to the sample specifications.
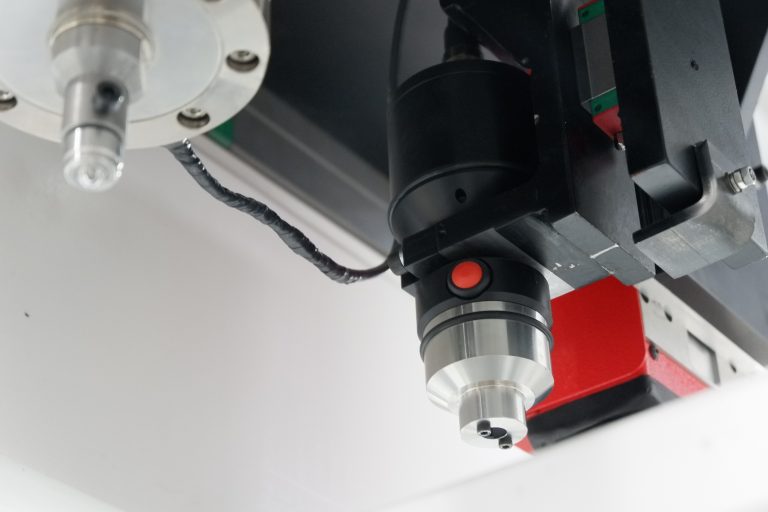
- According to the test shape and size, install the corresponding jaws into the upper and lower jaw seats.
- Start the oil pump and unscrew the oil delivery valve to raise the table about 10mm, then close the oil delivery valve. If the platform is already in the raised position, there is no need to open the oil valve to deliver oil first, just close the oil delivery valve.
- Clamp one end of the test in the upper jaw. For models equipped with hydraulic chucks, press the “tighten” button on the oil control box to clamp the sample.
- Start the electric lift to adjust the test space and clamp the sample vertically. For models equipped with hydraulic chucks, press the tightening button on the control box to clamp the test vertically.
- According to the acceleration speed required by the test, slowly unscrew the oil delivery valve to apply force. After the test breaks, close the oil delivery valve. If the interval between the next group is relatively long, the oil pump should also be stopped.
- Remove the test tube. For models equipped with hydraulic chucks, first press the “up” button to loosen the upper jaw, then press the “down” button to loosen the lower jaw, and remove the test pieces respectively.
- After the test, disconnect the power cord.