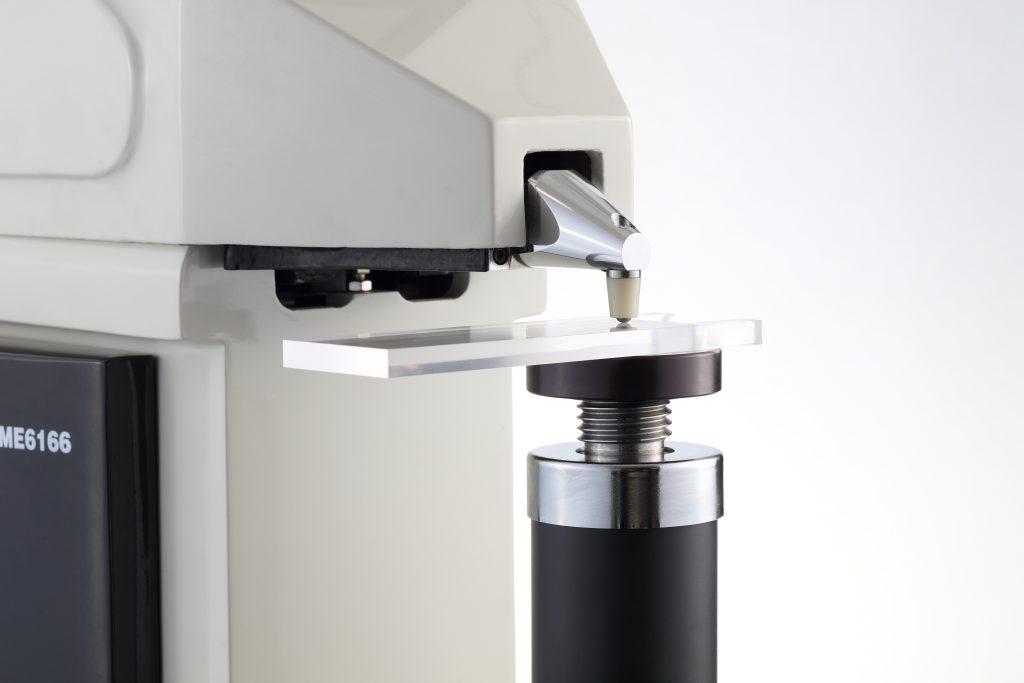
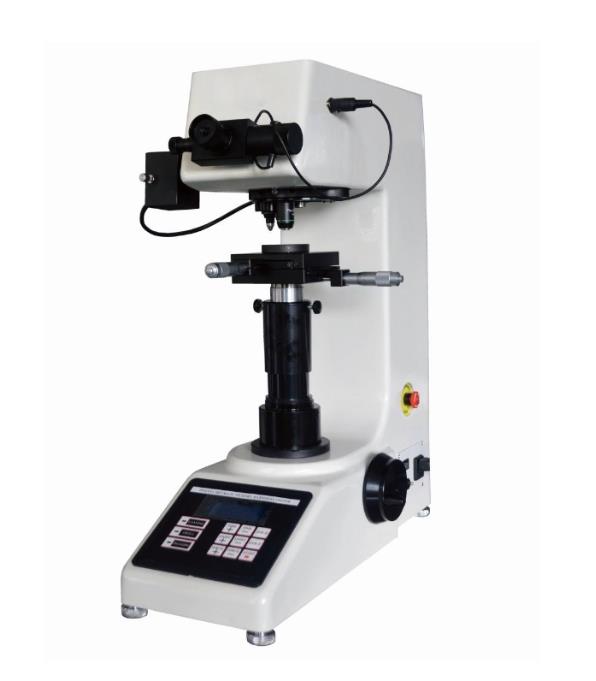
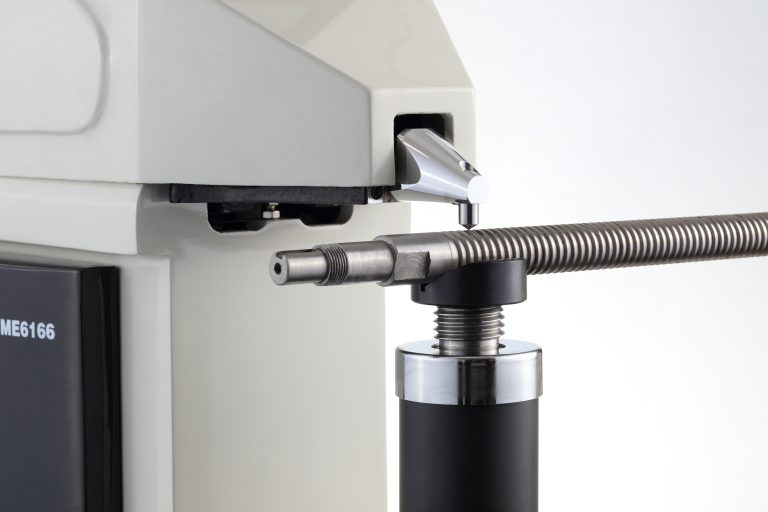
Rockwell hardness uses a diamond cone with an apex angle of 120° or a quenched steel ball with a diameter of Φ1.588mm as the indenter, and presses it into the surface of the sample with the specified test force.

During the test, add the preliminary test force first, and then add the main test force. After pressing into the surface of the sample, remove the main test force, and while retaining the initial test force, determine the Rockwell hardness value of the tested metal material based on the depth of indentation on the surface of the sample.
The Rockwell hardness value is determined by the size of h. The greater the indentation depth h, the lower the hardness; conversely, the higher the hardness.
Generally speaking, according to people’s customary concepts, the larger the value, the higher the hardness. Therefore, a constant c minus h is used to represent the hardness. And use every 0.002mm indentation depth as a hardness unit. The hardness value thus obtained is called the Rockwell hardness value and is represented by the symbol HR.
The Rockwell hardness value HR thus obtained is an anonymous number, which is generally read directly from the indicator of the testing machine during the test.
Among the three scales of Rockwell hardness, HRC is the most widely used. Generally, quenched steel or tools are measured using HRC. In the case of medium hardness, the relationship between Rockwell hardness HRC and Brinell hardness HBS is about 1:10.


