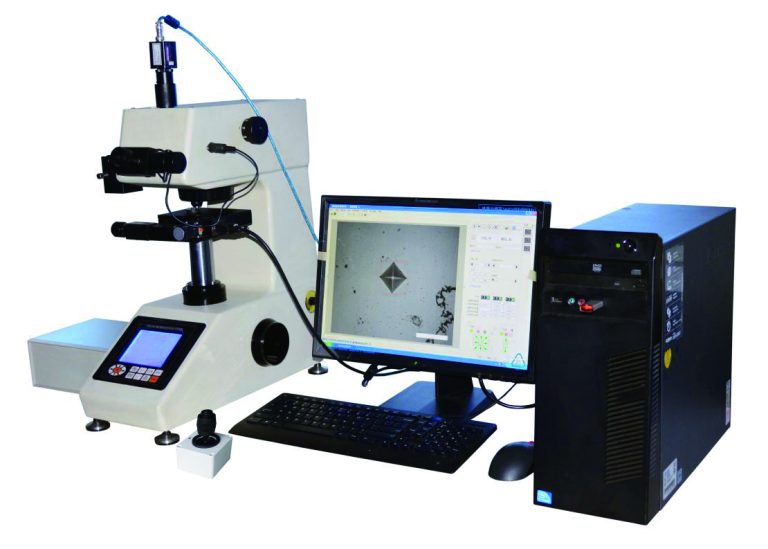
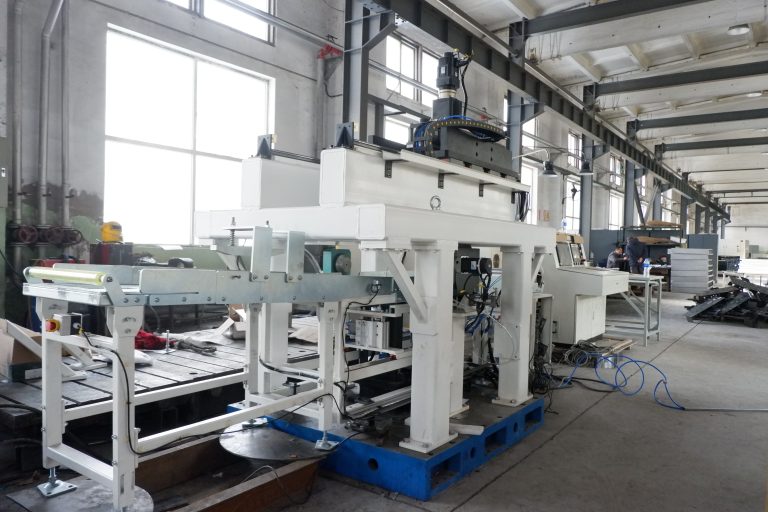
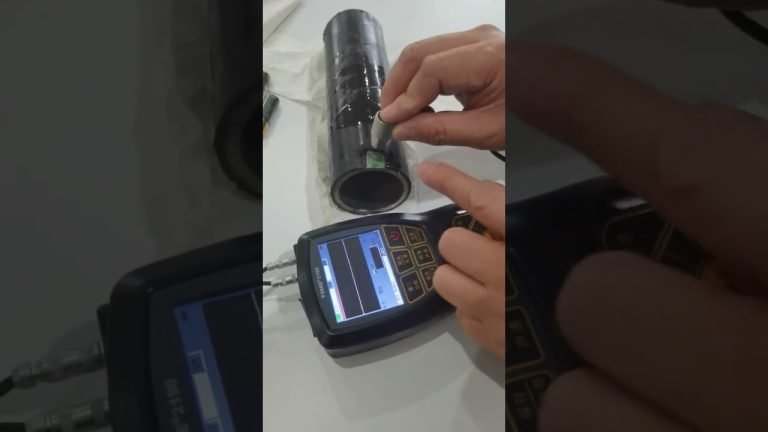
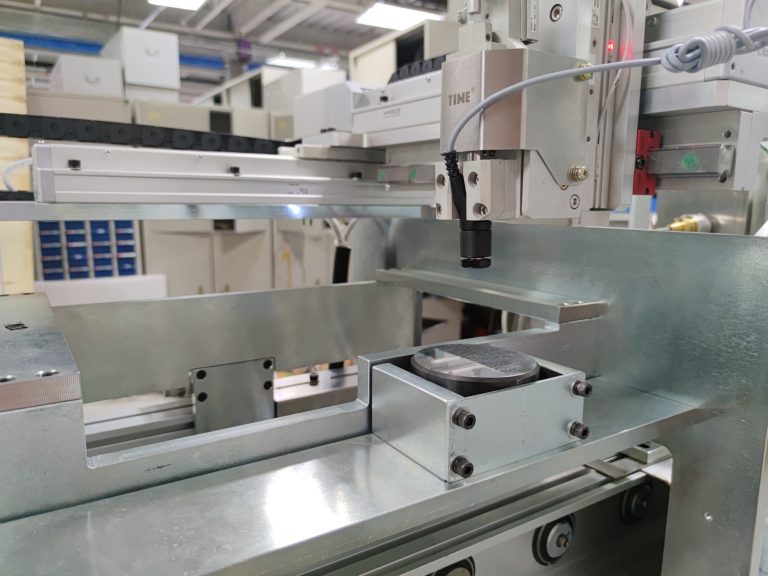
Hardness test is the simplest and easiest test method in mechanical property testing. In order to use hardness testing to replace certain mechanical property tests, a more accurate conversion relationship between hardness and strength is needed in production. Practice has proved that there is an approximate corresponding relationship between various hardness values of metal materials and between hardness values and strength values. Because the hardness value is determined by the initial plastic deformation resistance and the continued plastic deformation resistance, the higher the strength of the material, the higher the plastic deformation resistance, and the higher the hardness value.
- Brinell hardness | HB (HBW\HBS):
Brinell hardness (HB) is a test load of a certain size, which presses a hardened steel ball or carbide ball of a certain diameter into the metal surface to be tested, holds it for a specified time, and then unloads it to measure the indentation diameter of the surface to be tested. The cloth hardness value is the load divided by the surface area of the indented sphere. Generally: press a hardened steel ball of a certain size (usually 10mm in diameter) into the surface of the material with a certain load (usually 3000kg) and keep it for a period of time. After the load is removed, the ratio of the load to its indentation area is Brinell. Hardness value (HB), unit is kilogram force/mm2 (N/mm2). - Rockwell hardness | HR (commonly used Rockwell scales HRA, HRB, HRC):
Rockwell hardness is based on the depth of plastic deformation of indentation to determine the hardness value index. Use 0.002 mm as a hardness unit. When HB>450 or the sample is too small, Brinell hardness test cannot be used and Rockwell hardness measurement is used instead. It uses a diamond cone with a vertex angle of 120° or a steel ball with a diameter of 1.588mm to press into the surface of the material to be tested under a certain load, and the hardness of the material is calculated from the depth of the indentation. According to the different hardness of the test material, it is expressed in three different scales:
HRA:
The hardness is obtained using a 60kg load and a diamond cone intruder. It is used for extremely hard materials | such as cemented carbide, etc.
HRB:
The hardness is obtained using a 100kg load and a hardened steel ball with a diameter of 1.58mm. It is used for materials with lower hardness | such as cast iron
HRC:
The hardness is obtained using a 150kg load and a diamond cone press. It is used for materials with very high hardness | such as quenched steel, etc.
- Vickers hardness | HV:
Vickers hardness (HV) is determined by pressing a diamond square cone intruder with a vertex angle of 136° into the surface of the material under a load of less than 120kg and dividing the surface area of the indentation pits by the load value, which is the Vickers hardness value (HV). ). It is suitable for hardness determination of larger workpieces and deeper surface layers. Vickers hardness also includes small-load Vickers hardness, with a test load of 1.961~49.03N, which is suitable for hardness determination of thin workpieces, tool surfaces or coatings; micro-Vickers hardness, with a test load of less than 1.961N, suitable for metal foils, Determination of hardness of very thin surface layers. - Shore hardness | HA/HD:
A steel pressure needle with a certain shape is vertically pressed into the surface of the sample under the action of the test force. When the surface of the pressure foot and the surface of the sample are completely fitted, the tip surface of the pressure needle has a certain protrusion length L relative to the plane of the pressure foot, so that The L value represents the Shore hardness. The larger the L value, the lower the Shore hardness, and vice versa. - Shore hardness | HS:
The Shore hardness test is a dynamic load test method. Its principle is to drop a weight of a certain mass with a diamond or alloy steel ball from a certain height to the surface of the sample. According to the rebound of the weight, The height represents the measured hardness value. The symbol is HS. The higher the rebound of the hammer, the harder the surface is measured. A90 is the hardness of diamond, and D45 is the hardness of quenched steel.
Hardness tester error:
The hardness tester itself will produce two kinds of errors:
One is the error caused by the deformation and movement of its parts;
The second is the error caused by hardness parameters exceeding the specified standards.
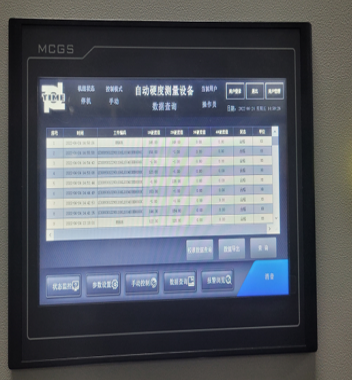
For the second type of error, the hardness tester needs to be calibrated with a standard block before measurement. For the Rockwell hardness tester calibration results, the difference is qualified within ±1. A stable value with a difference within ±2 can give a correction value. When the difference is outside the range of ±2, the hardness meter must be calibrated and repaired or other hardness testing methods must be used.
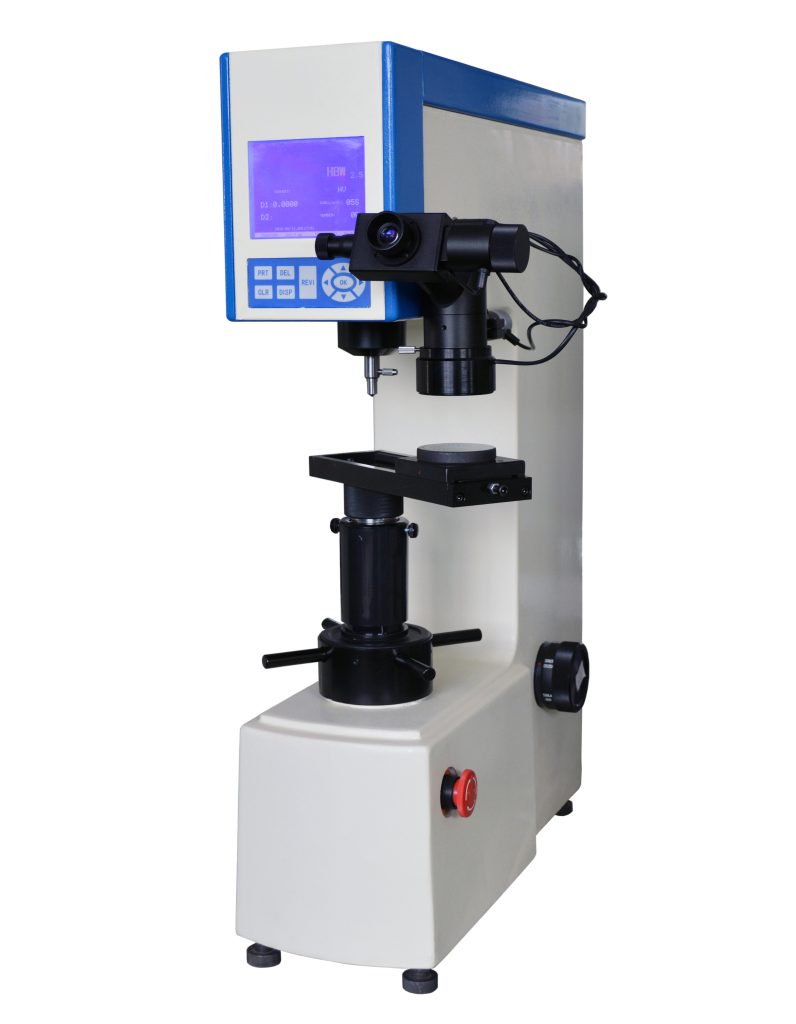
Each Rockwell hardness scale has a practical range of application and must be selected correctly according to regulations. For example, when the hardness is higher than HRB100, the HRC scale should be used for testing; when the hardness is lower than HRC20, the HRB scale should be used for testing. Because when it exceeds its specified testing range, the accuracy and sensitivity of the hardness tester are poor, the hardness value is inaccurate, and it should not be used. Other hardness testing methods also have corresponding calibration standards. The standard block used to calibrate the hardness tester cannot be used on both sides, because the hardness of the standard side and the back side are not necessarily the same. It is generally stipulated that the standard block is valid within one year from the date of calibration.

