Although the Rockwell hardness tester has a simple structure and is easy to operate, if it is improperly operated for a long time and the hardness test is inaccurate, the product quality will be greatly affected and bring adverse consequences.
Now we will introduce several common errors and their treatment methods in calibration as follows:
- Human error.
(1) The operator has insufficient technical proficiency and poor practical experience, and should be used by personnel who are familiar with hardness testers;
(2) If the loading is too fast, the load holding time will be short, and the low hardness parts will have high hardness. If the loading is too slow, the load holding time will be long, and the hardness will be low. The loading should be smooth during operation and a certain loading time should be maintained. - Factors affecting the parts being tested.
(1) Different surface finishes show different effects on the Rockwell hardness test. The lower the surface finish, the higher the hardness during the high hardness test. On the contrary, the lower the hardness, the rough surface with knife marks will be the first to cool down the fastest during quenching, or the very hard surface will have a high hardness value. On the contrary, when the quenched and tempered parts are tempered at high temperature, the surface structure with knife marks will change first, and the ability to resist tempering will be small, and the hardness value will be low. When testing parts with a surface finish below Δ7, it is necessary to use a waste grinding wheel to finely grind, then file it smooth with a file, or use a fine hand grinding wheel to polish it, and then wipe it clean.
(2) There are salt stains, sand and other substances on the surface of heat-treated parts. When a load is applied, the parts will slip. If there is greasy, the diamond head will act as lubrication when pressed in, reducing friction and increasing the indentation depth. These two reasons make the measured hardness value low. The hardness value of the parts tested where the oxide skin layer is thin decreases, and the hardness value of the part where the oxide skin layer is dense increases. The parts to be measured for hardness must be removed from scale and wiped clean without any dirt.
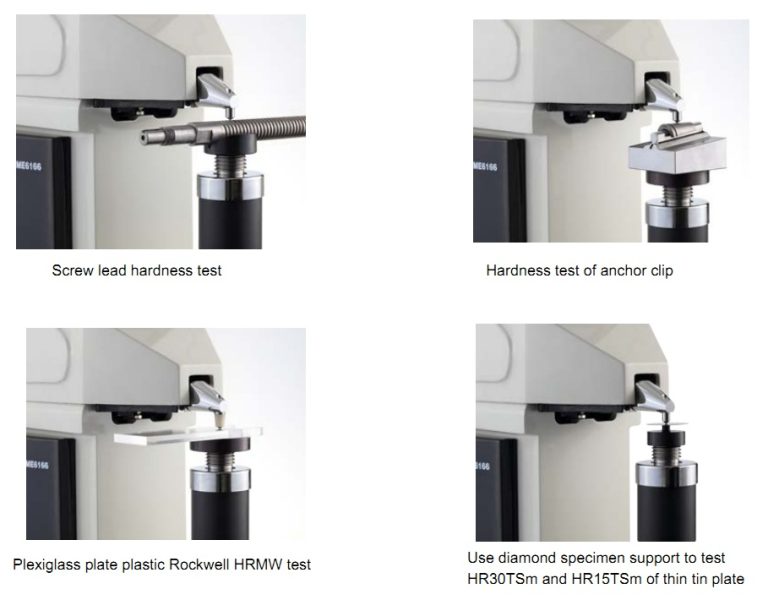
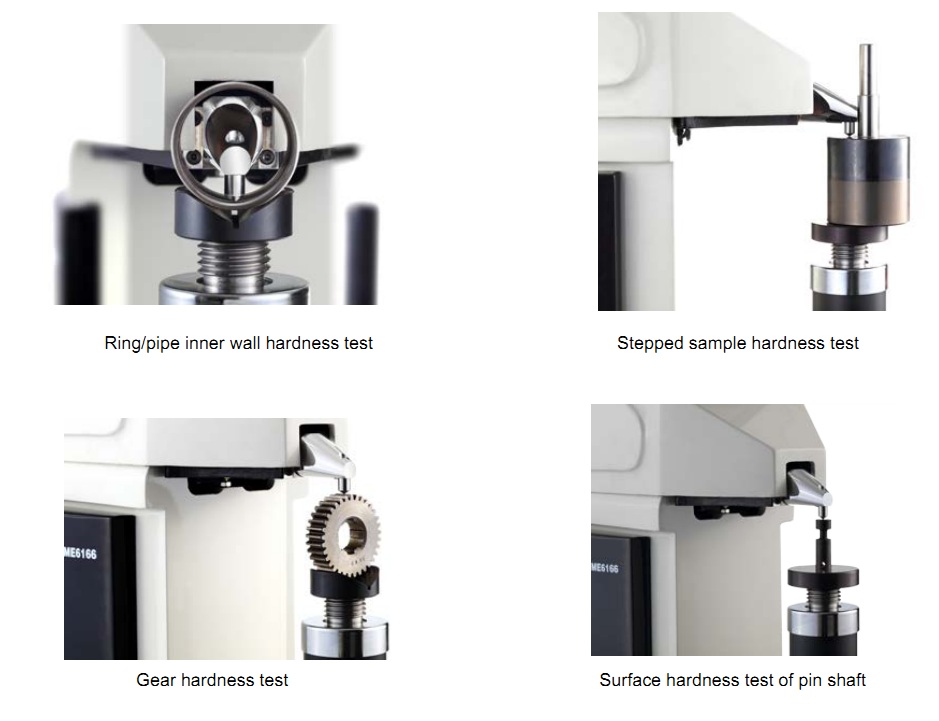
(3) The error in hardness testing of inclined surfaces (or tapers), spherical surfaces and cylindrical parts is larger than that of flat surfaces. When the indenter presses into the surface of such a part, the resistance around the indentation point is smaller than the flat surface, and may even deviate or slip. The indentation depth increases and the hardness decreases. The smaller the radius of curvature, the larger the slope, and the more significant the reduction in hardness value. Diamond indenter is also easily damaged. For such parts, a special workbench must be designed to make the workbench and the indenter concentric. - The influence of indenter.
(1) The diamond indenter does not meet the technical requirements or is worn after being used for a period of time. If the operator cannot judge the quality of the diamond, it can be verified by a measurement and testing agency.
(2) The steel ball indenter has insufficient strength and hardness and is prone to deformation. When the steel ball is flattened and permanently deformed, it becomes an ellipse. When the short axis is perpendicular to the surface of the part, the indentation is shallow and the indication value is high. When the long axis is perpendicular to the surface of the part, the indentation becomes deeper and the indication value decreases. The steel ball tolerance is as small as 0.002. mm. - Load aspect.
(1) Initial load: There is friction between the spring and the spindle, the lever and the dial indicator, causing an increase or decrease in 100N. The adjustment screw is loose, the adjustment block moves, and the ejector rod is in an improper position. There is a difference in the starting line, causing the initial load to be incorrect. If the initial load is incorrect, the coordination of springs, spindles, levers, dial indicators, etc. should be adjusted. After the position of the adjusting block has moved appropriately, tighten the adjusting screw and the position of the ejector rod at the same time. The tolerance of the initial load should be less than ±2%.
(2) Main load: The lever ratio is wrong, the balance weight of the boom and the weight is incorrect; the spindle, lever and weight are deflected, which will cause the main load to error. The leverage ratio is wrong and should be adjusted. If the blade is worn, it should be repaired or replaced, and if the spindle is deformed, it should be straightened. The spindle, lever and weight deflections should be corrected. The tolerance of the main load of various scales is less than ±0.5%. - The hardness tester is not installed correctly.
The hardness tester is not in a horizontal position, and its value is low when testing hardness. Use a spirit level to measure the level and then level the hardness tester. - The surface of a certain test part of the part is in poor contact with the workbench, or the supporting point is unstable.
This will cause slipping, rolling, warping, etc., which will not only make the results inaccurate, but also damage the instrument. A suitable workbench should be designed based on the geometry of the part. - Influence of surrounding environment.
Hardness testers used in factory production are often affected by vibrations in the surrounding environment, causing the instrument structure to become loose and the indication value to be unstable. The hardness tester should be installed in a place without vibration or far away from the source of vibration.

