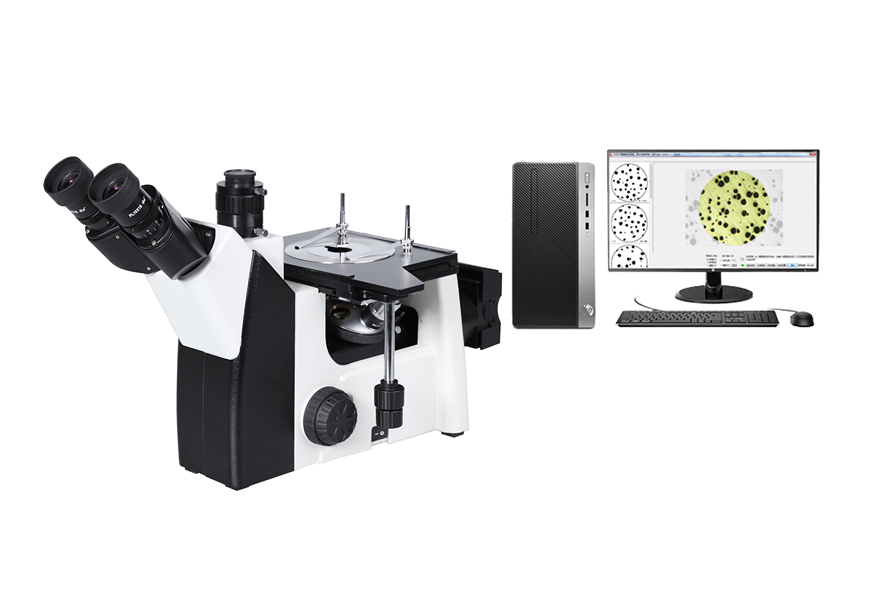
Metallurgical microscopes have different observation modes such as bright field, dark field, polarized light and differential interference. In the process of observing metallographic structures, the most widely used method is bright field, and most metallographic inspections can be shot in bright field mode. However, darkfield, polarized light, and differential interference have their unique roles in materials analysis.
So what are the steps for sample preparation using a metallographic microscope?
1) Sampling
Taking samples from the metal materials and parts that need to be tested is called “sampling”. The selection of sampling locations and grinding surfaces must be based on the analysis requirements. There are many methods of interception. For soft materials, you can use sawing, turning, planing, etc.; for hard materials, you can use cutting methods such as grinding wheel slicers or wire cutting machines; for hard and brittle materials, you can use hammering methods. No matter which method is used, care should be taken to avoid and reduce tissue distortion caused by plastic deformation or heating. There is no uniform regulation on the size of the sample. From the perspective of ease of holding and grinding, the diameter or side length is generally 15~20mm and the height is 12~18mm. For those specimens that are too small, irregular in shape and need to protect the edges, mounting or mechanical clamping can be used.
The mounting of metallographic samples is carried out by using thermoplastic plastics (such as polyvinyl chloride), thermosetting plastics (such as bakelite powder) and condensing plastics (such as epoxy resin + curing agent) as fillers. The first two types belong to hot setting fillers, and hot setting must be carried out on a special equipment – an inlay machine. The third type belongs to cold setting filler.
2) Coarse grinding
The purpose of coarse grinding mainly has the following three points:
Trimming Some specimens, such as those knocked down by hammering, have very irregular shapes and must be rough ground and trimmed into regular-shaped specimens;
Grinding No matter what method is used to take samples, the cuts are often not very smooth. In order to smooth the observation surface and remove the deformed layer produced during cutting, rough grinding is necessary;
On the premise that the chamfering does not affect the purpose of observation, the edges and corners on the sample need to be ground off to avoid scratching the sandpaper and polishing fabric.
3) Fine grinding
After rough grinding, there are still coarse and deep wear marks on the grinding surface. In order to eliminate these wear marks, fine grinding must be carried out. Fine grinding can be divided into two types: manual grinding and mechanical grinding. At present, mechanical grinding is the main grinding method.
The most commonly used mechanical grinding equipment at present is the pre-grinding machine. The motor drives the disc covered with water-sandpaper to rotate. When grinding, move the sample back and forth along the radial direction of the disc. The force should be even and the sample should be rinsed with water while grinding. The water flow not only plays the role of cooling the sample, but also uses centrifugal force to continuously rush the fallen sand particles, abrasive debris, etc. to the edge of the turntable. The grinding speed of mechanical grinding is much faster than manual grinding, but the flatness is not good enough and the surface deformation layer is also serious. Therefore, samples with higher requirements or softer materials should be ground manually.
4) Polishing
The purpose of polishing is to remove the fine grinding marks left on the grinding surface after fine grinding to obtain a bright and traceless mirror surface. There are three polishing methods: mechanical polishing, electrolytic polishing and chemical polishing, among which mechanical polishing is commonly used. Mechanical polishing is performed on a polishing machine. The polishing fabric (canvas is commonly used for coarse polishing and woolen cloth is commonly used for fine polishing) is soaked in water, flattened, tightened and fixed on the polishing disc.
Start the switch to rotate the polishing disc counterclockwise, and sprinkle an appropriate amount of polishing liquid (a suspension of aluminum oxide, chromium oxide or iron oxide polishing powder plus water) on the disc for polishing. When polishing, you should pay attention to:
The sample moves slowly back and forth along the radial direction of the disk, and at the same time, it rotates in the opposite direction of the polishing disk. When the polishing is about to end, perform a short positioning and light polishing.
During the polishing process, an appropriate amount of polishing fluid or water should be added frequently to maintain the humidity of the polishing disc. If the polishing disc is found to be too dirty or contains coarse particles, it must be rinsed clean before continued use.
The polishing time should be shortened as much as possible and not too long. To meet this requirement, it can be divided into two steps: rough polishing and fine polishing.
When polishing non-ferrous metals (such as copper, aluminum and their alloys, etc.), it is best to apply a little soap or drop an appropriate amount of soapy water on the polishing disc.
5) Erosion
When the polished sample is observed under a metallographic microscope, only the bright polished surface can be seen. If there are scratches, water stains or non-metallic inclusions, graphite and cracks in the material, it can also be seen. However, the metal must be analyzed. The phase structure must also be etched.
There are many etching methods. The most commonly used method is chemical etching, which uses the chemical dissolution and electrochemical etching of the sample by the etching agent to expose the tissue.
The etching of pure metal (or single-phase uniform solid solution) is basically a chemical dissolution process. Atoms located at grain boundaries have higher free energy and poorer stability than atoms inside the grain, so they are easily etched to form grooves. The interior of the grains is slightly etched, and generally maintains the original polished plane. Under bright field observation, you can see that individual grains are separated by grain boundaries. If the etching is deeper, you can also find the phenomenon of different brightness and darkness of each grain. This is because the atoms of each grain are arranged in different directions. After etching, the degree of inclination between the exposed surface, which is dominated by the densest arrangement of surfaces, and the original polished surface.